
Included in the post below is a single affiliate link to some containers I got from Amazon. If you purchase them through my link, I’ll earn a small commission. They’re pretty awesome containers, so definitely worth a try if you need any!
A couple years ago, another mom introduced me to the 2020 Home Organization Challenge led by A Bowl Full of Lemons. It’s a 14-week project, and each week you tackle a new space within the home, eliminating clutter and giving it a good deep clean. It was really intimidating, but this year I swore I was going to give it a go. The challenge is really well done, there’s even a free set of printable checklists to guide each week’s efforts.
Week 1 was the laundry room. This was a good place for me to start as I have a laundry closet rather than a laundry room. But it did need a good de-clutter. We keep our bed and table linens in this closet, along with some cleaning supplies. It’s not horrible, but it feels more utilitarian than I’d like. A thorough cleaning and a few quick upgrades really made a difference. It feels more organized, and “fresher.” Here’s the before and after picture:
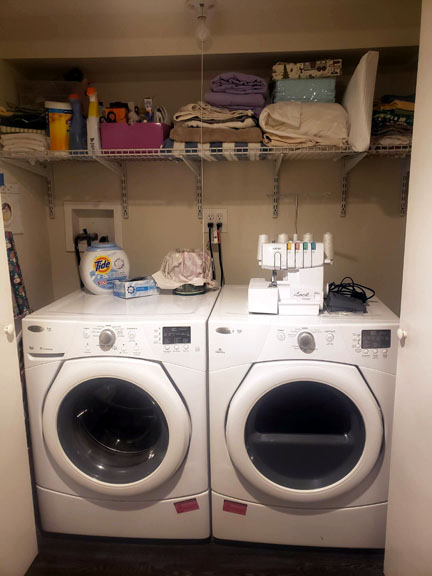
Before. 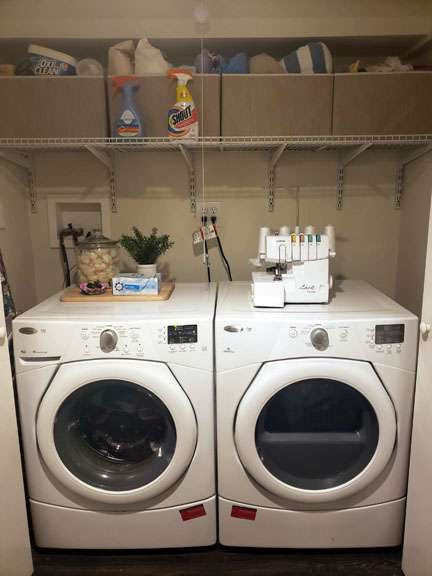
After.
Things that made a big difference:
- These containers are light yet sturdy, and enable me to store things vertically, which makes it much easier to select individual sheet sets or tablecloths. I used to stack my linens, and it was so frustrating trying to get something from the middle of the stack.
- Moving my laundry pods into a $9 glass container from Target. Such a small thing, but visually a huge difference. I love it.
- I grouped the glass container with a faux rosemary plant and cutting board from Goodwill, and added an air clay dish that Kenzie made at school.
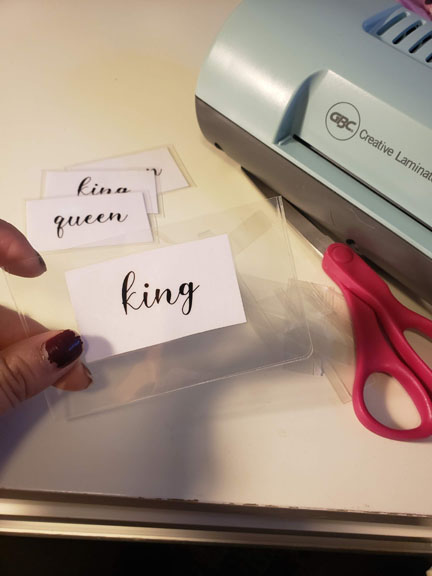
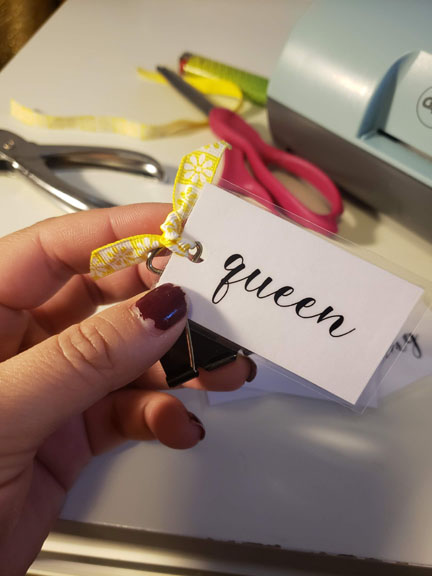
And the bit that made the biggest difference, was creating labels for our sheet sets. Kenzie sleeps on a queen-sized bed, and we have a king. I would get so frustrated trying to figure out which set went with which bed. So armed with my laminator and a hole punch, I tackled this pain point.
First, I found a font I liked (this one is Belista), and typed out the relevant sizes into a Word document. Then I printed it out, cut out each label, and laminated them.
Next, I trimmed them down to size, and punched a hole in each one. I threaded each tag through a 5″ piece of ribbon, and added a binder clip.
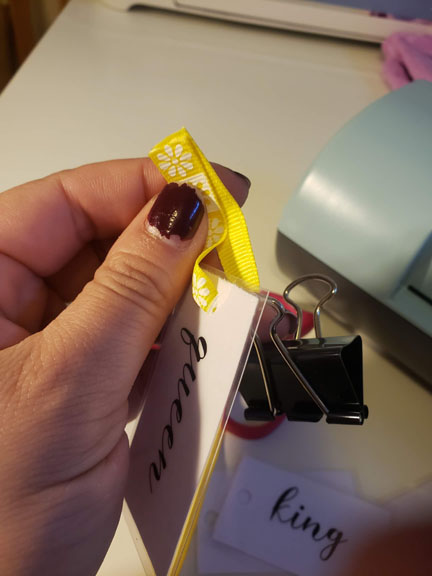
I knotted the ends together, trimmed at an angle, and singed the raw edges with a lighter so they won’t fray. I’m sure you could use fray check as well.
Finally, attach the finished labels to your sheet sets! I wish I had done this years ago.

Easy! It took me less than 15 minutes to do, and I didn’t have to buy any new supplies. That’s a for sure win. If you’ve got any home organization tips for me, I’d love to hear them! I’m determined to have my house in order before the next decade starts! 🙂